Address
304 North Cardinal
St. Dorchester Center, MA 02124
Work Hours
Monday to Friday: 7AM - 7PM
Weekend: 10AM - 5PM
Address
304 North Cardinal
St. Dorchester Center, MA 02124
Work Hours
Monday to Friday: 7AM - 7PM
Weekend: 10AM - 5PM
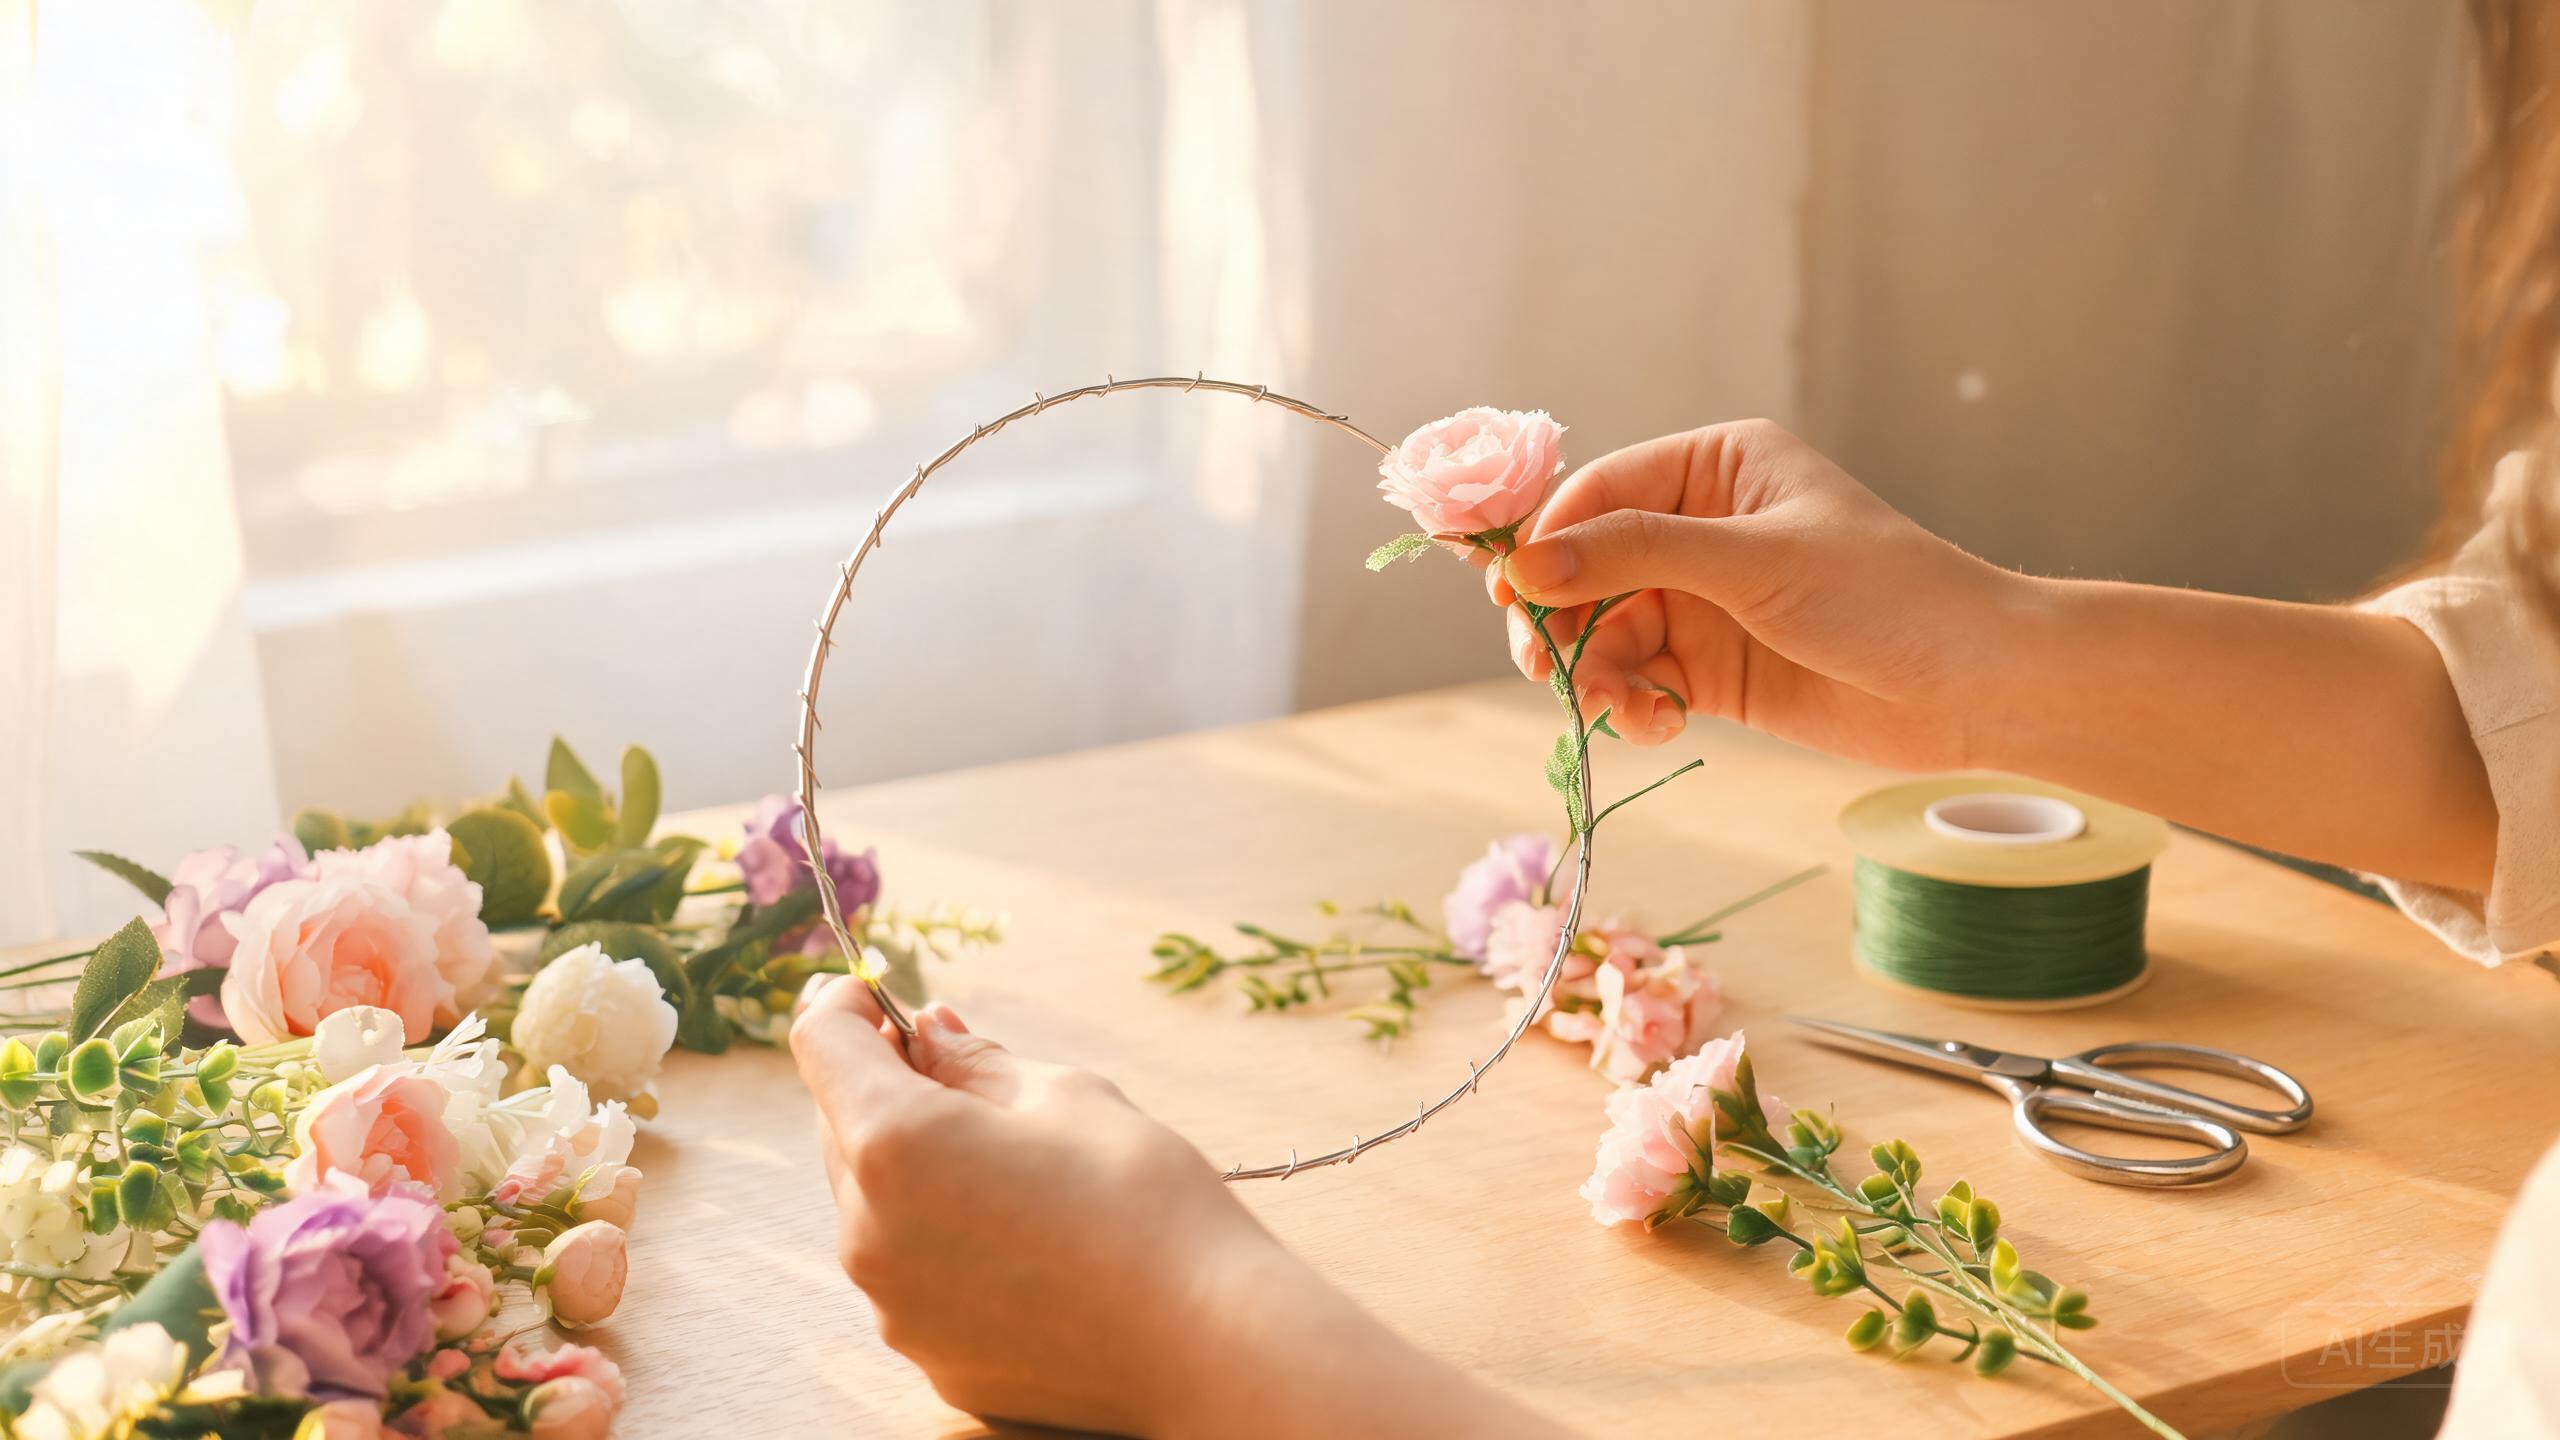
A flower wall creates a stunning focal point for weddings, parties, photo backdrops, or even as permanent home decor. While professional flower walls can be expensive, creating your own with silk flowers is an achievable and rewarding project that delivers spectacular results.
Determine the size of your flower wall. A 4×4 foot panel is a good starting point for most projects. Choose a color scheme, either monochromatic for elegance or a mix of 3-4 complementary colors for visual interest. Calculate approximately 20-30 stems per square foot for full coverage.
You’ll need a foam board or pegboard panel as your base, silk flower stems in your chosen colors, greenery stems, a hot glue gun with plenty of glue sticks, wire cutters, and Command strips or picture hanging hardware for mounting.
If using a foam board, it’s ready to go. If using pegboard, you can either glue flowers directly to it or use the holes to insert stems. Mark your panel with a light grid pattern to help you distribute flowers evenly across the surface.
Cut all flower stems to about 2 inches. Sort them by size and type. Having your materials organized before you start gluing makes the process much smoother and faster. Separate your largest blooms, medium flowers, small accent flowers, and greenery into different piles.
Begin by gluing greenery stems across your base, spacing them evenly. This creates a natural backdrop that will peek through between flowers, adding depth and realism to your finished wall. Don’t worry about full coverage with greenery, it’s meant to be a base layer.
Glue your largest blooms first, spacing them evenly across the panel. These create the structure of your design. Imagine a grid and place one large flower at each intersection. This ensures even distribution and prevents clustering in one area.
Fill the spaces between large flowers with your medium-sized blooms. Angle them slightly outward from the base to create dimension. Continue working across the entire panel, checking regularly that coverage is even and the overall look is balanced.
Use your smallest flowers and accent elements to fill any remaining gaps. These tiny blooms create the lush, full appearance that makes flower walls so impressive. Don’t leave any visible base material showing between your flowers.
Attach mounting hardware to the back of your panel. For temporary events, Command strips work well. For permanent installations, use appropriate wall anchors. Enlist a friend to help with mounting, as flower walls can be heavier than they appear.
Create your own show-stopping floral backdrop with our wide selection of silk flowers ideal for DIY projects.
Disclaimer: This article is for informational and inspirational purposes only. Product availability and styles may vary. Please visit our store for current offerings.
Tags: DIY flower wall, floral backdrop, event decor, craft project